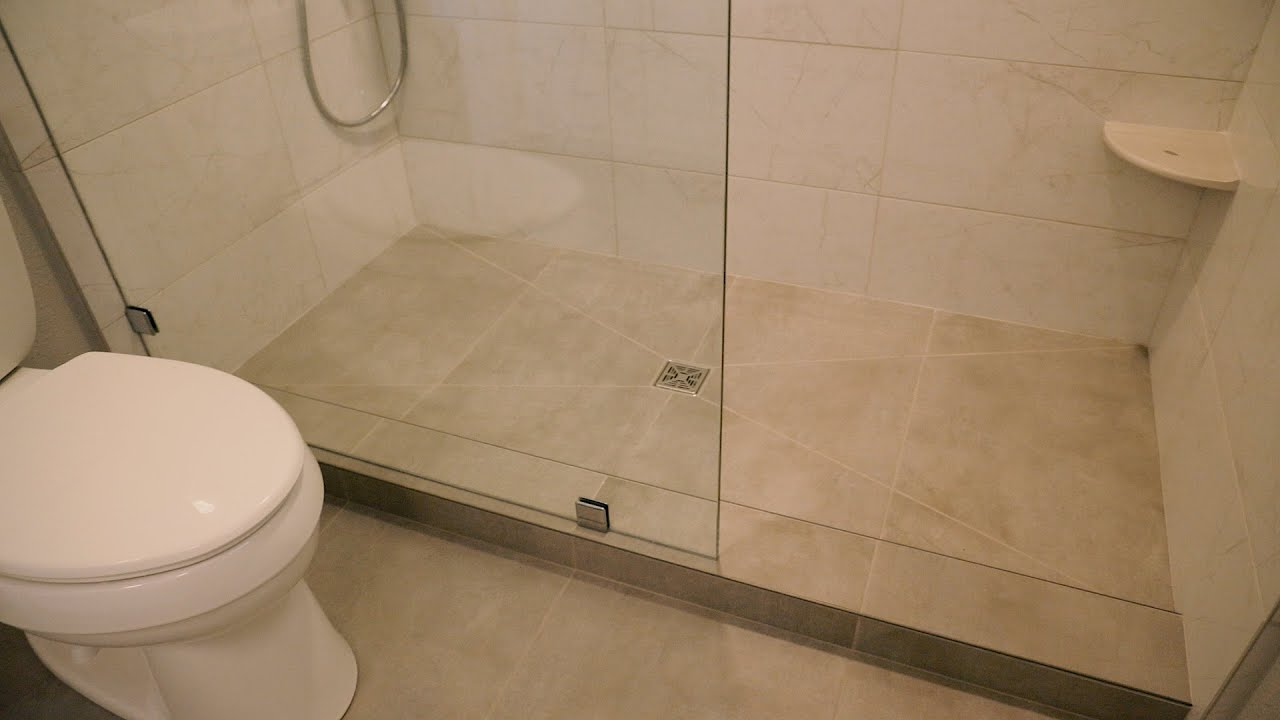
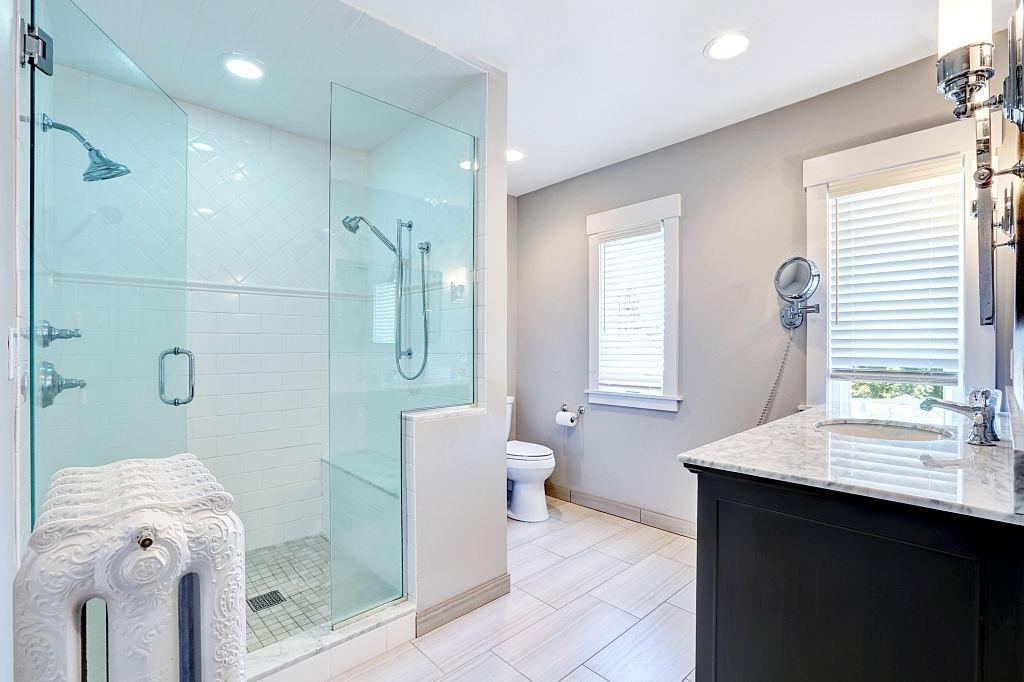
A frameless shower screen can be a sleek and modern addition to any bathroom. It not only adds functionality, but also enhances the overall aesthetic appeal of your space. However, installing a frameless shower screen may seem like a daunting task for those who have never done it before.
In this guide, we will walk you through the steps on how to install a frameless shower screen in your bathroom. From measuring and preparing the area to properly installing the glass panels, we will cover everything you need to know. So whether you are looking to upgrade your current shower or installing a new one, this guide will help you achieve a professional and seamless installation.
Why Choose a Frameless Shower Screen?
There are several reasons why homeowners choose to install a frameless shower screen in their bathroom. First and foremost, the lack of bulky frames allows for a more modern and open look, making your bathroom appear larger. This is especially beneficial for smaller bathrooms where space is limited.
Another advantage of frameless shower screens is their versatility in design. Unlike traditional framed showers, which often come in standard sizes and designs, frameless shower screens can be customized to fit any space and style. This means you can choose from a variety of glass types, hardware finishes, and even add unique elements such as patterns or etchings.
Additionally, frameless shower screens are easier to clean and maintain compared to their framed counterparts. The absence of frames eliminates crevices and corners where dirt and grime can build up, making it easier to keep your shower looking sparkling clean.
Not only are frameless shower screens visually appealing, but they also offer a better showering experience. The lack of frames and tracks allows for a seamless flow of water without any obstacles, creating a more luxurious and spa-like feel.
Steps for Installing a Frameless Shower Screen

Before beginning the installation process, it is important to gather all the necessary tools and materials. This includes measuring tape, drill, level, silicone sealant, and the frameless shower screen kit which typically includes glass panels, hinges, handles, and hardware.
Step 1: Measure and Prepare the Area
The first step in installing a frameless shower screen is to measure the area where it will be installed. This includes measuring the width of the opening, as well as the height from the base to the top of the wall.
Once you have accurate measurements, you can prepare the area by ensuring that it is clean and free of any debris. It is also important to check the walls and base for any irregularities or unevenness, which can affect the installation process. Additionally, if your shower area has any tiles or other obstacles, it is important to plan for these in the measurements and make necessary adjustments.
Step 2: Install the Bottom Track
Next, you will need to install the bottom track. This provides a stable base for the glass panels to sit on and helps keep them in place. Most frameless shower screen kits come with a bottom track that can be easily cut to fit the width of your opening.
Using a level, make sure the bottom track is even and secure it in place using screws. It is important to follow the manufacturer’s instructions for proper installation and ensure that the track is securely fastened.
Plus, if your shower area has any irregularities or slopes, you can use shimming techniques to level the track and ensure a secure fit.
Step 3: Secure the Glass Panels
After the bottom track is installed, you can now secure the glass panels. Start by placing the first panel in the bottom track and use a level to ensure it is straight and plumb. Then, using clips provided in the kit, secure the panel to the wall.
Repeat this process for each additional glass panel, making sure they are evenly spaced and level. If your shower area has more than two walls, you may need to use corner clips to secure the panels in place.
Step 4: Install the Door Hinges and Handles
Once all the glass panels are securely in place, you can now install the door hinges and handles. These are typically provided in the frameless shower screen kit and can be attached to the glass panels using screws.
It is important to carefully measure and mark the placement of the hinges and handles to ensure that the door will open and close properly without any gaps or misalignments. This is also where you can customize your frameless shower screen by choosing different hardware finishes and styles.
Step 5: Add Silicone Sealant and Finish
The final step in installing a frameless shower screen is to add silicone sealant around the edges of the glass panels and along the bottom track. This helps to waterproof the shower area and prevents any leaks.
After applying the sealant, use a damp cloth to smooth out any excess and allow it to dry completely before using your new frameless shower screen.
So these are the steps on how to install a frameless shower screen in your bathroom. By following these instructions and taking accurate measurements, you can achieve a professional and seamless installation that will enhance the look and functionality of your bathroom. Plus, with the added benefits of a more modern design, customization options, and easier maintenance, it’s easy to see why so many homeowners choose frameless shower screens for their bathrooms.
Can You Install a Frameless Shower Screen on Your Own?

While the process of installing a frameless shower screen may seem daunting, it is possible to do it on your own as long as you have some basic handyman skills and the right tools. However, if you are not confident in your abilities or have never done any DIY projects before, it may be best to hire a professional for the installation process.
Keep in mind that installing a frameless shower screen requires accurate measurements, precise leveling, and proper sealing techniques. One small mistake can lead to an uneven or leaky shower which can cause damage to your bathroom. Additionally, handling heavy glass panels may also pose a safety risk if you are not experienced with them.
If you do decide to install a frameless shower screen on your own, make sure to carefully follow the manufacturer’s instructions and take your time to ensure everything is done correctly. It may also be helpful to have a friend or family member assist you in handling the glass panels.
A Professional Installation is always recommended to ensure a seamless and secure installation of your frameless shower screen. They have the expertise, tools, and experience to properly install your shower screen while also avoiding any potential risks or mistakes. Plus, hiring a professional can save you time and effort in the long run.
Mistakes to Avoid When Installing a Frameless Shower Screen
While installing a frameless shower screen may seem straightforward, there are some common mistakes that can easily be avoided with proper planning and preparation. These include:
- Not taking accurate measurements: This is the most crucial step in the installation process. Even small errors in measurement can lead to gaps, leaks, and an overall uneven appearance of the shower screen.
- Not checking for irregularities or slopes: As mentioned earlier, it is important to inspect your shower area for any irregularities or slopes that may affect the installation. Doing this ahead of time can save you from unexpected challenges during the process.
- Not properly securing the bottom track: The bottom track provides a stable base for the glass panels and helps to keep them in place. Before proceeding with the installation, make sure it is securely fastened and level.
- Not following manufacturer’s instructions: Each frameless shower screen kit may have specific instructions for installation, so it is important to carefully read and follow them. This can help avoid any mistakes or issues during the process.
- Not using the right tools: Installing a frameless shower screen requires specific tools such as levels, drills, and silicone sealant. Not having the right tools can make the installation process more difficult and may lead to mistakes.
By avoiding these common mistakes, you can ensure a successful and professional-looking installation of your frameless shower screen. It is always better to take your time and do things correctly rather than rushing through the process and ending up with a poorly installed shower screen.
Contact 112handyman for your Handyman Needs
For all your home maintenance and repair needs, look no further than 112handyman. With over 8 years of experience, we have become the trusted partner of many London residents for our quality and affordable handyman services.
Our team of experienced tradesmen are dedicated to providing excellent customer service and ensuring a job well done. We offer a wide range of services, from hanging pictures and filling cracks to plumbing and flooring installation. We are also available for periodic maintenance checks to ensure your home stays in top condition.
At 112handyman, we understand the value of customer satisfaction and that’s why we offer a quick response time and fully insured services. If you ever have any issues with our work, we will return the next day to resolve them.
Our handyman services come at the best prices in London, with an average cost of £35 per hour for a full day booking. We also offer competitive pricing for individual requirements and complete transparency in our charges.
Call now at 07954518942 or email us at admin@112handyman.com to book your handyman services.
FAQs
How do I install a frameless glass shower door?
To install a frameless glass shower door, begin by reading the installation instructions carefully. Ensure that the shower base is clean and level. Measure and mark where you will drill pilot holes for the hinges on the wall, ensuring they align with the structural support behind the fiberglass walls. Use safety glasses when drilling to prevent eye injuries.
What are the necessary preparations for installing a glass shower door?
Before installing a glass shower door, prepare your bathroom project by checking that your walls (especially if fiberglass) and shower base are structurally sound. Gather all tools and materials, including a drill for pilot holes, screws, and safety glasses. Ensure that the toughened glass panels are handled carefully to avoid damage.
How do I ensure the structural integrity of my frameless shower enclosure?
To ensure the structural integrity of your frameless shower enclosure, verify that there is adequate structural support where the screw holes will be placed. This support is crucial for holding the weight of the frameless, toughened glass. Additionally, double-check the alignment and level of the enclosure during installation to prevent any issues.
What safety measures should I follow when installing a frameless shower screen?
Safety is paramount when installing a frameless shower screen. Always wear safety glasses to protect your eyes from flying debris when drilling screw holes or handling glass. Follow the installation instructions meticulously to ensure that the toughened glass is securely mounted and that all fixtures are tightly screwed in, minimizing the risk of accidents.
Conclusion
In conclusion, installing a frameless shower screen can be a great way to upgrade the look and functionality of your bathroom. With proper planning, accurate measurements, and the right tools, it is possible to install one on your own. However, for a seamless and secure installation, it is always best to hire a professional handyman.
If you are in need of any handyman services, don’t hesitate to contact 112handyman. With our experience, dedication to customer satisfaction, and competitive pricing, we are the top choice for many London residents.
